Friday, October 25, 2025
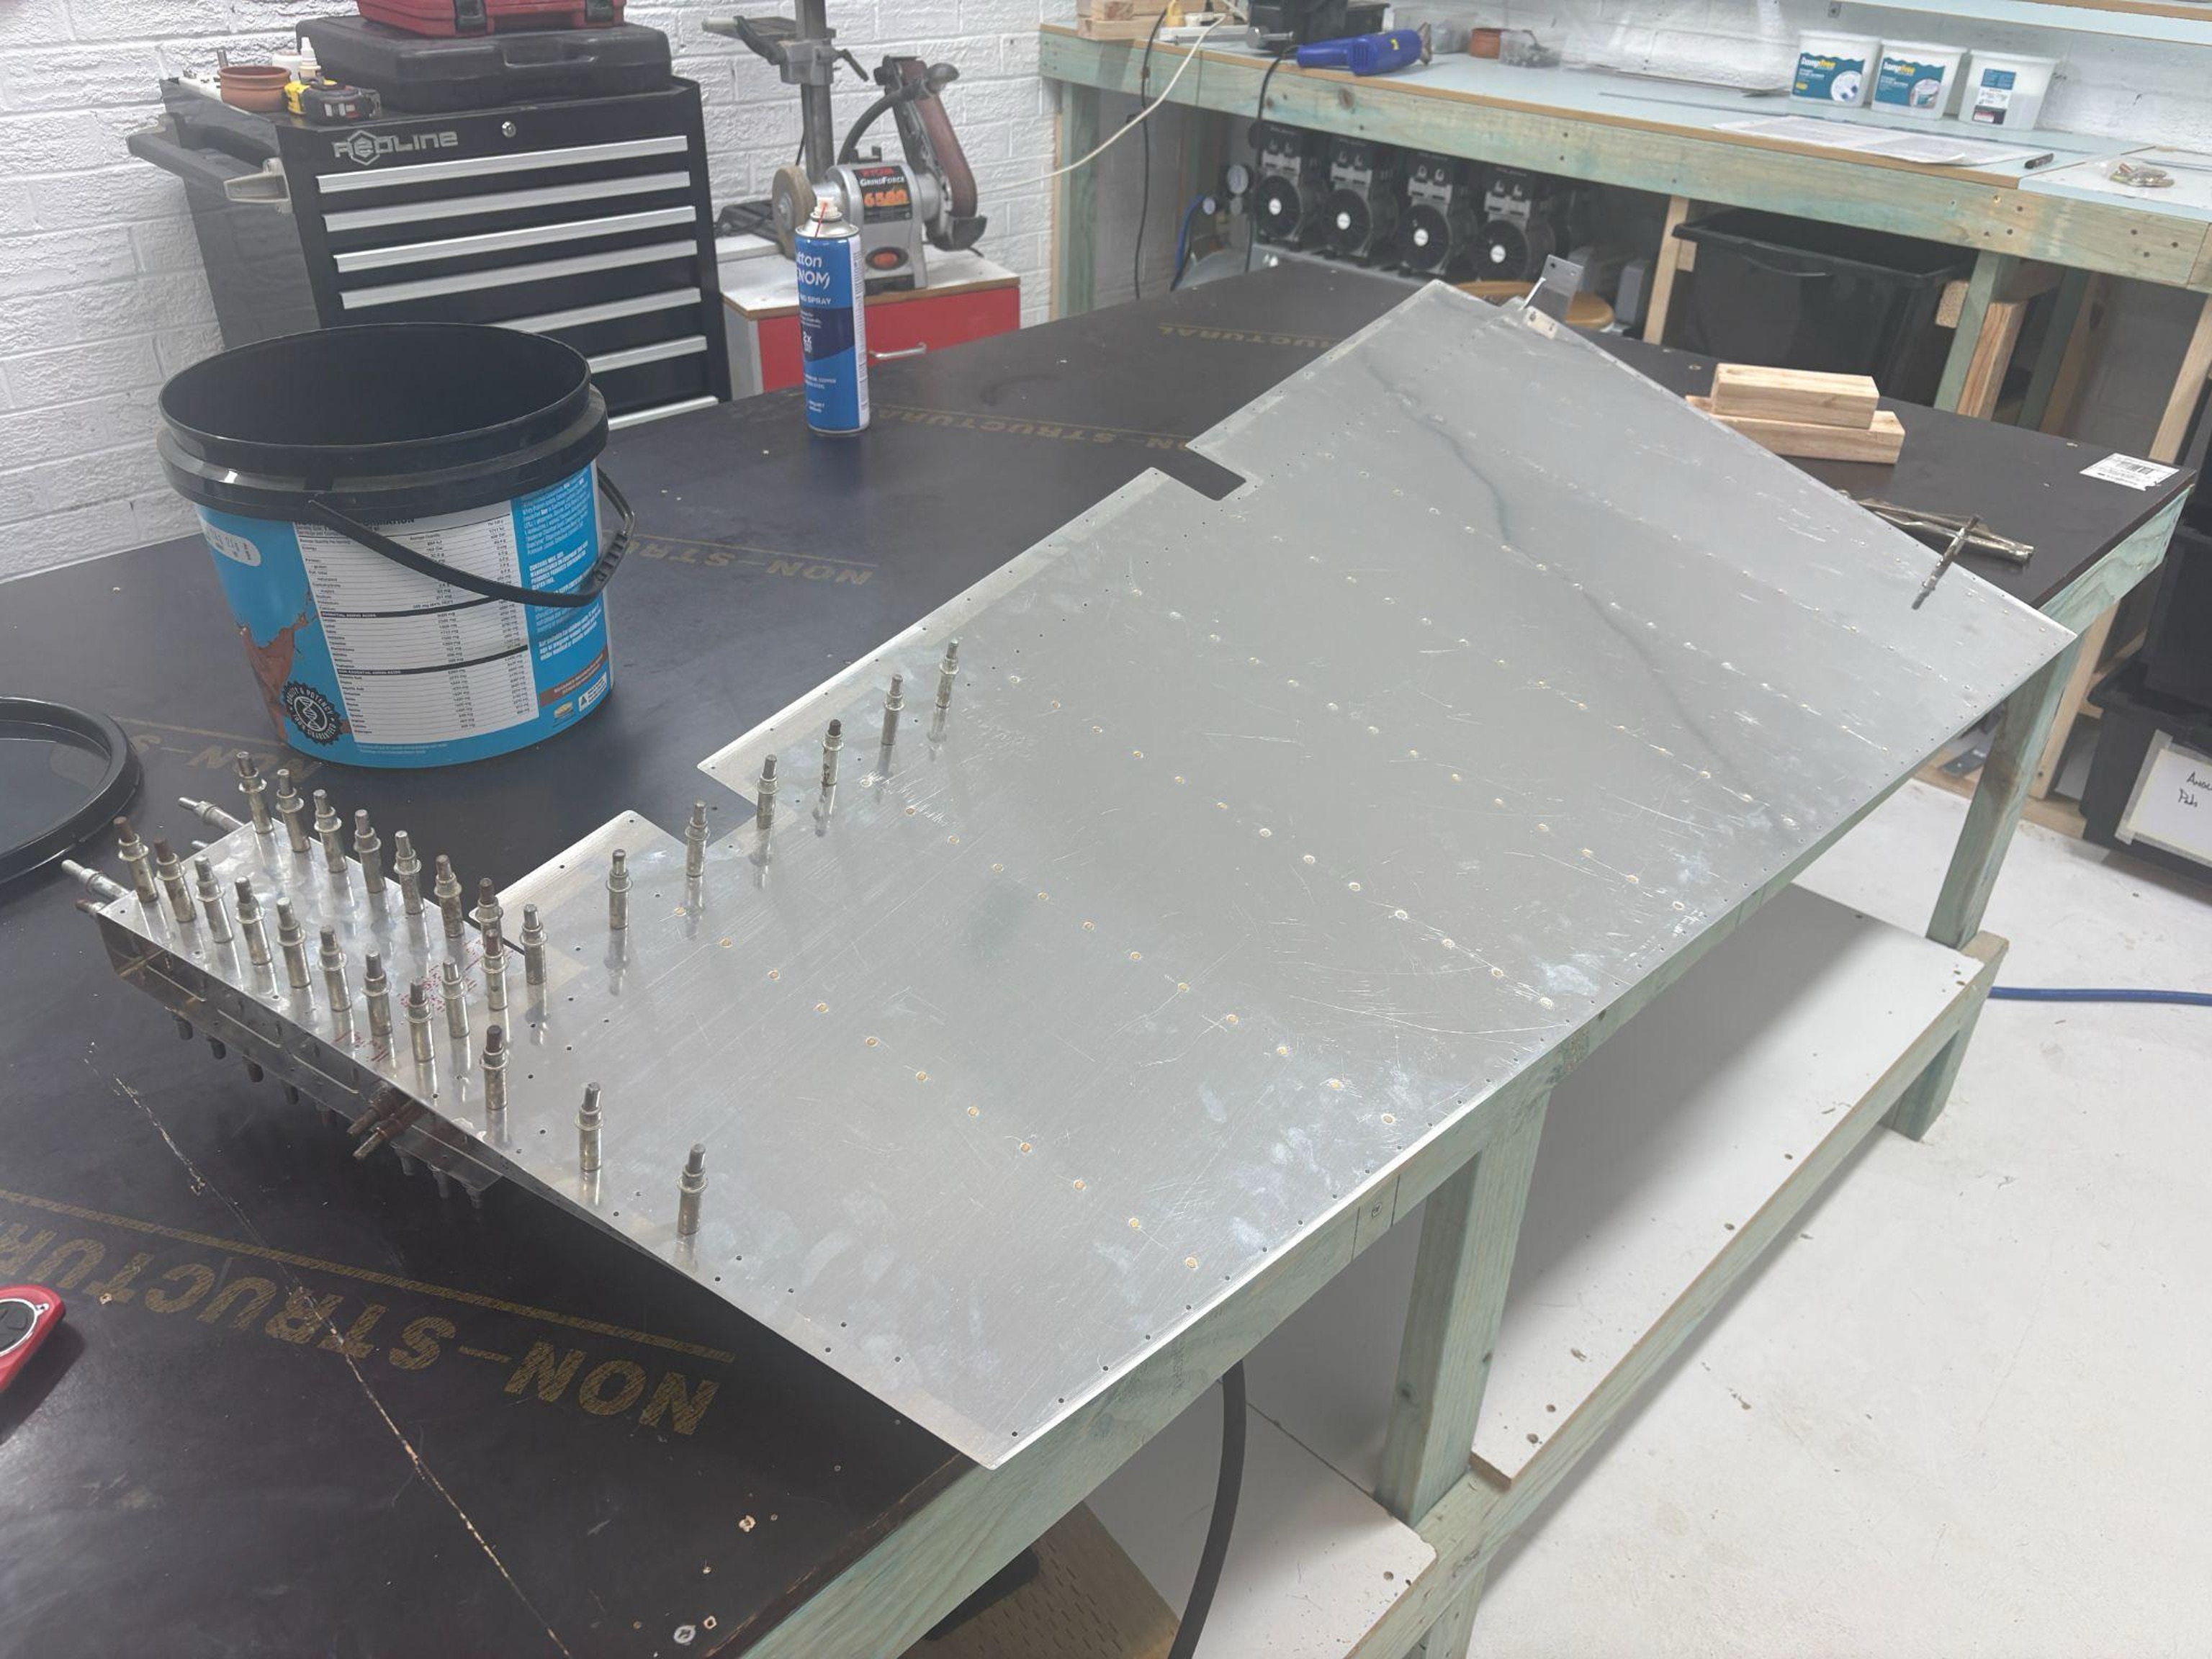
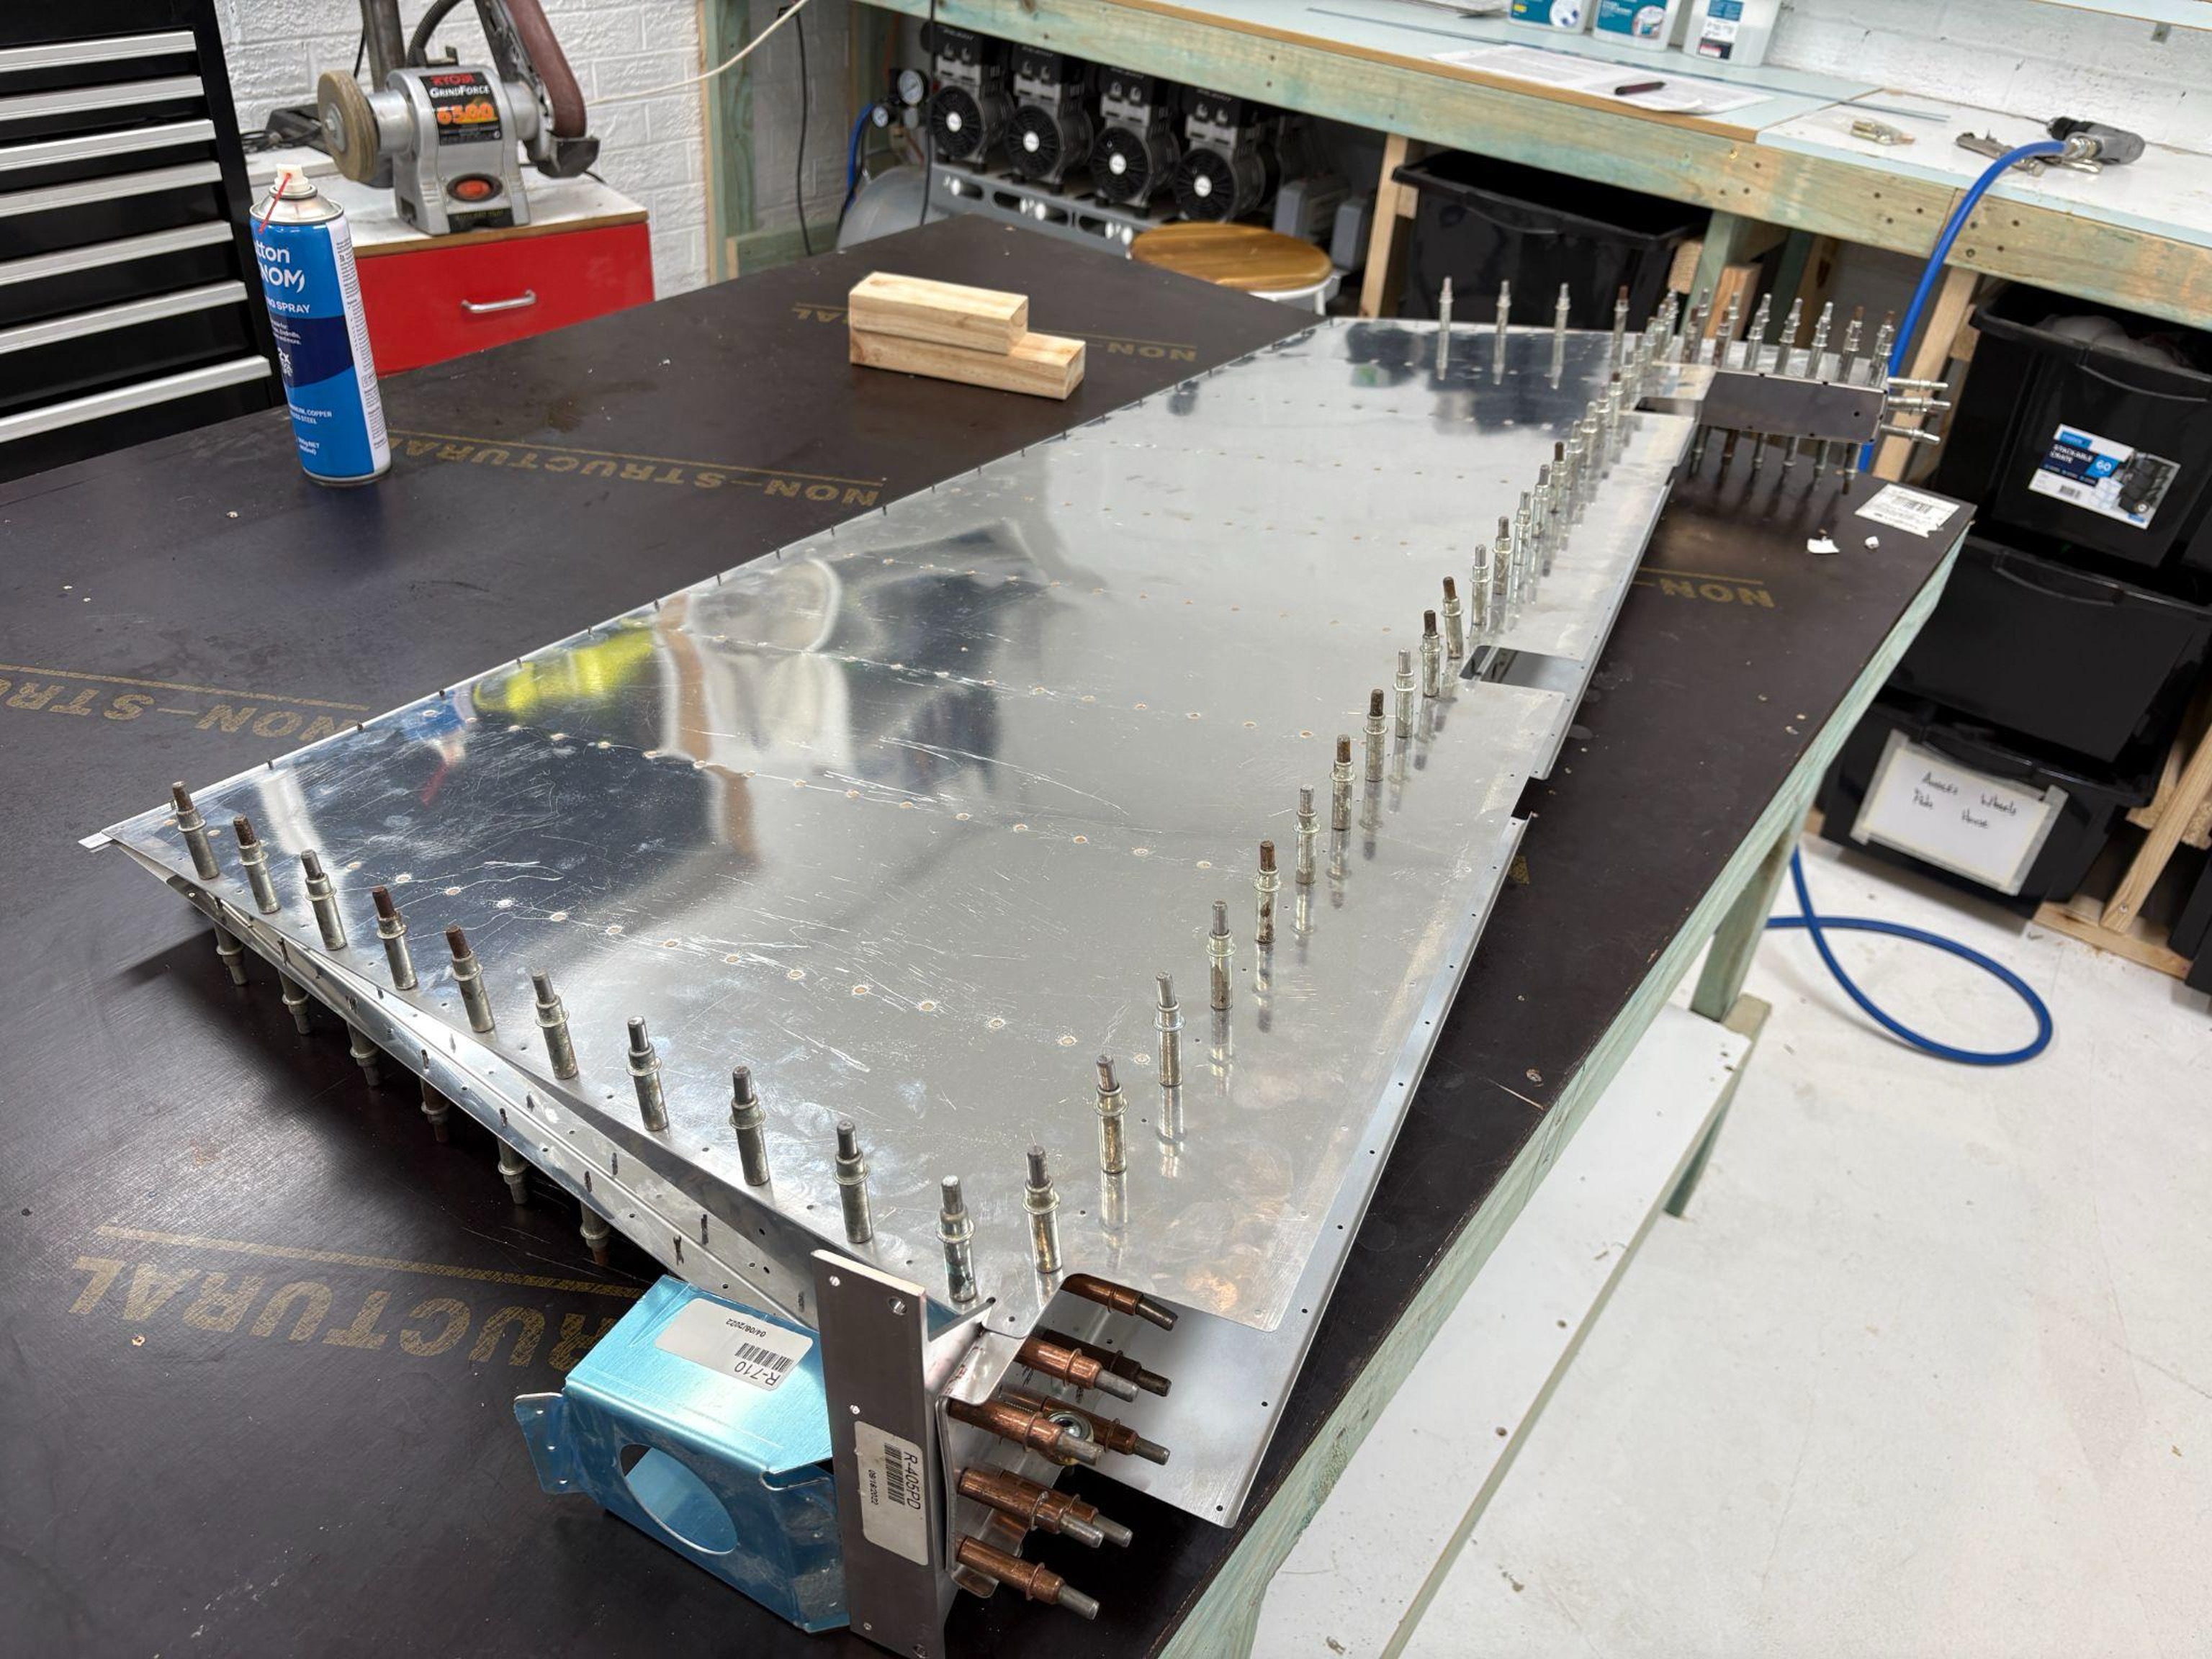
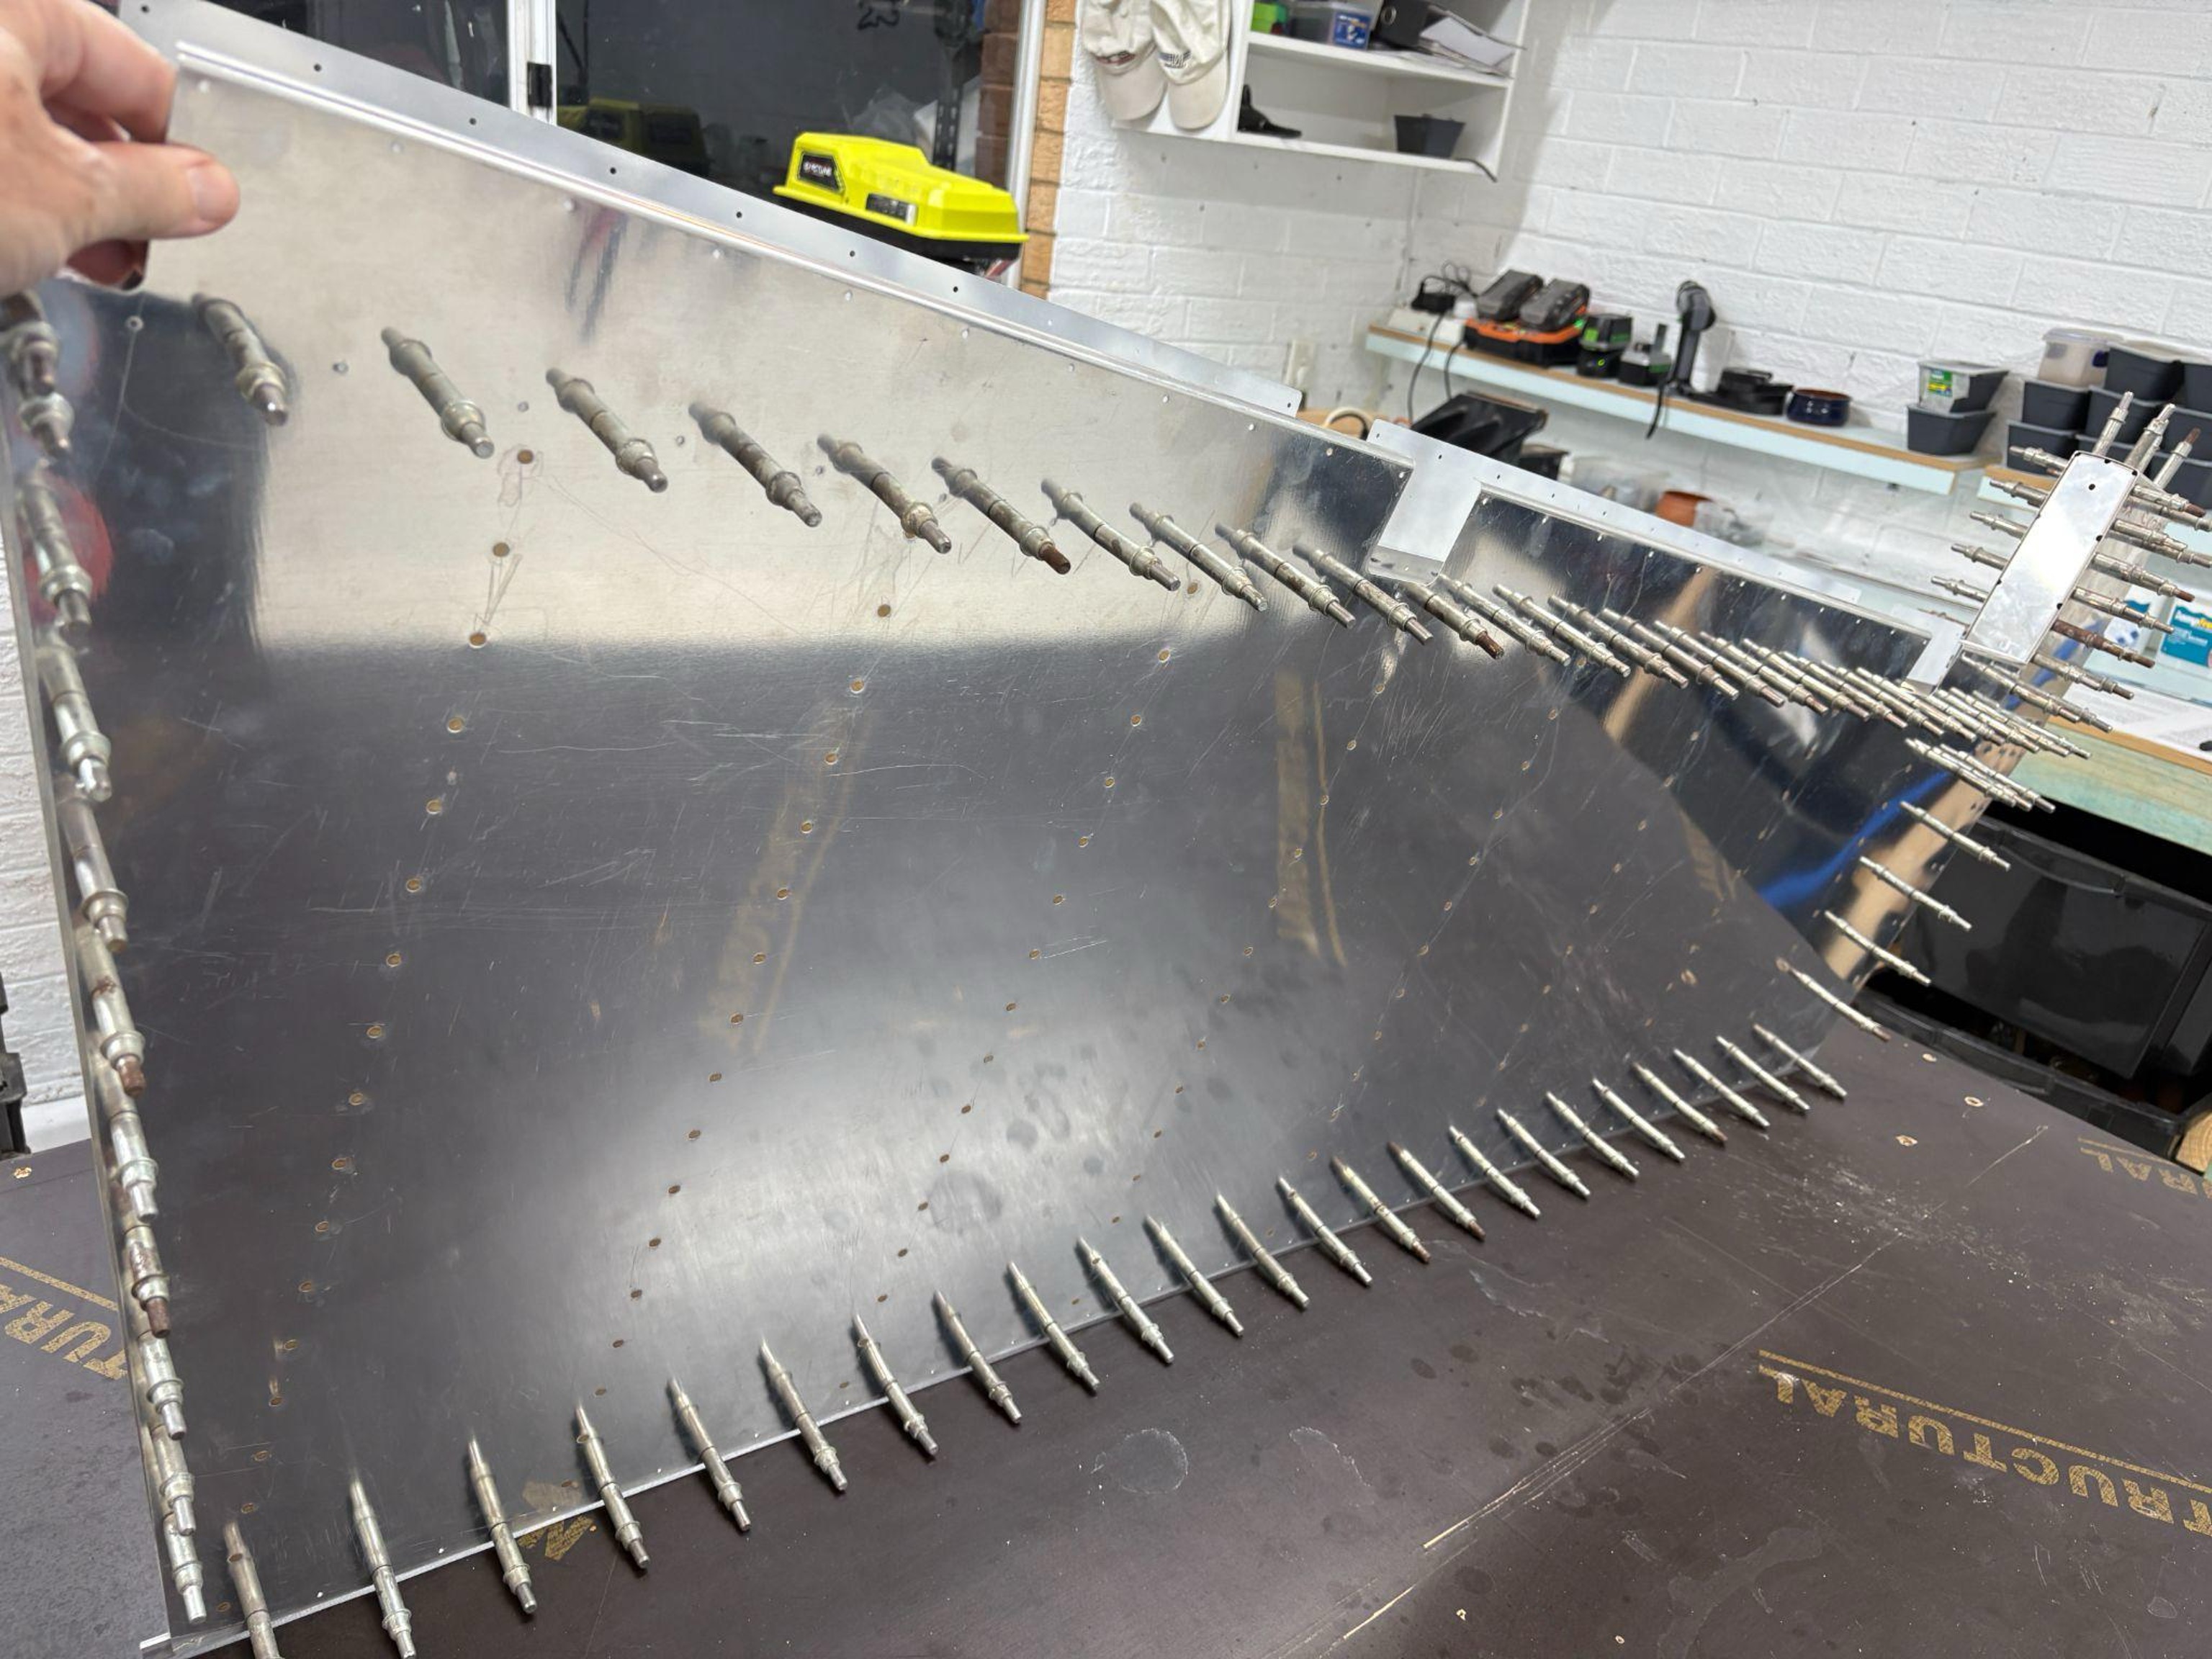
Back to work on the rudder, page 6-6 on the plans. Last week I got the skins clecoed on. Just finished drilling all skins to #40, including the trailing edge.
Clecoing the Skins
Starting the clecoing process—temporary fasteners holding everything in alignment
Working through the cleco pattern
Clecoing continues—each one matters for proper alignment
Getting close to complete cleco coverage
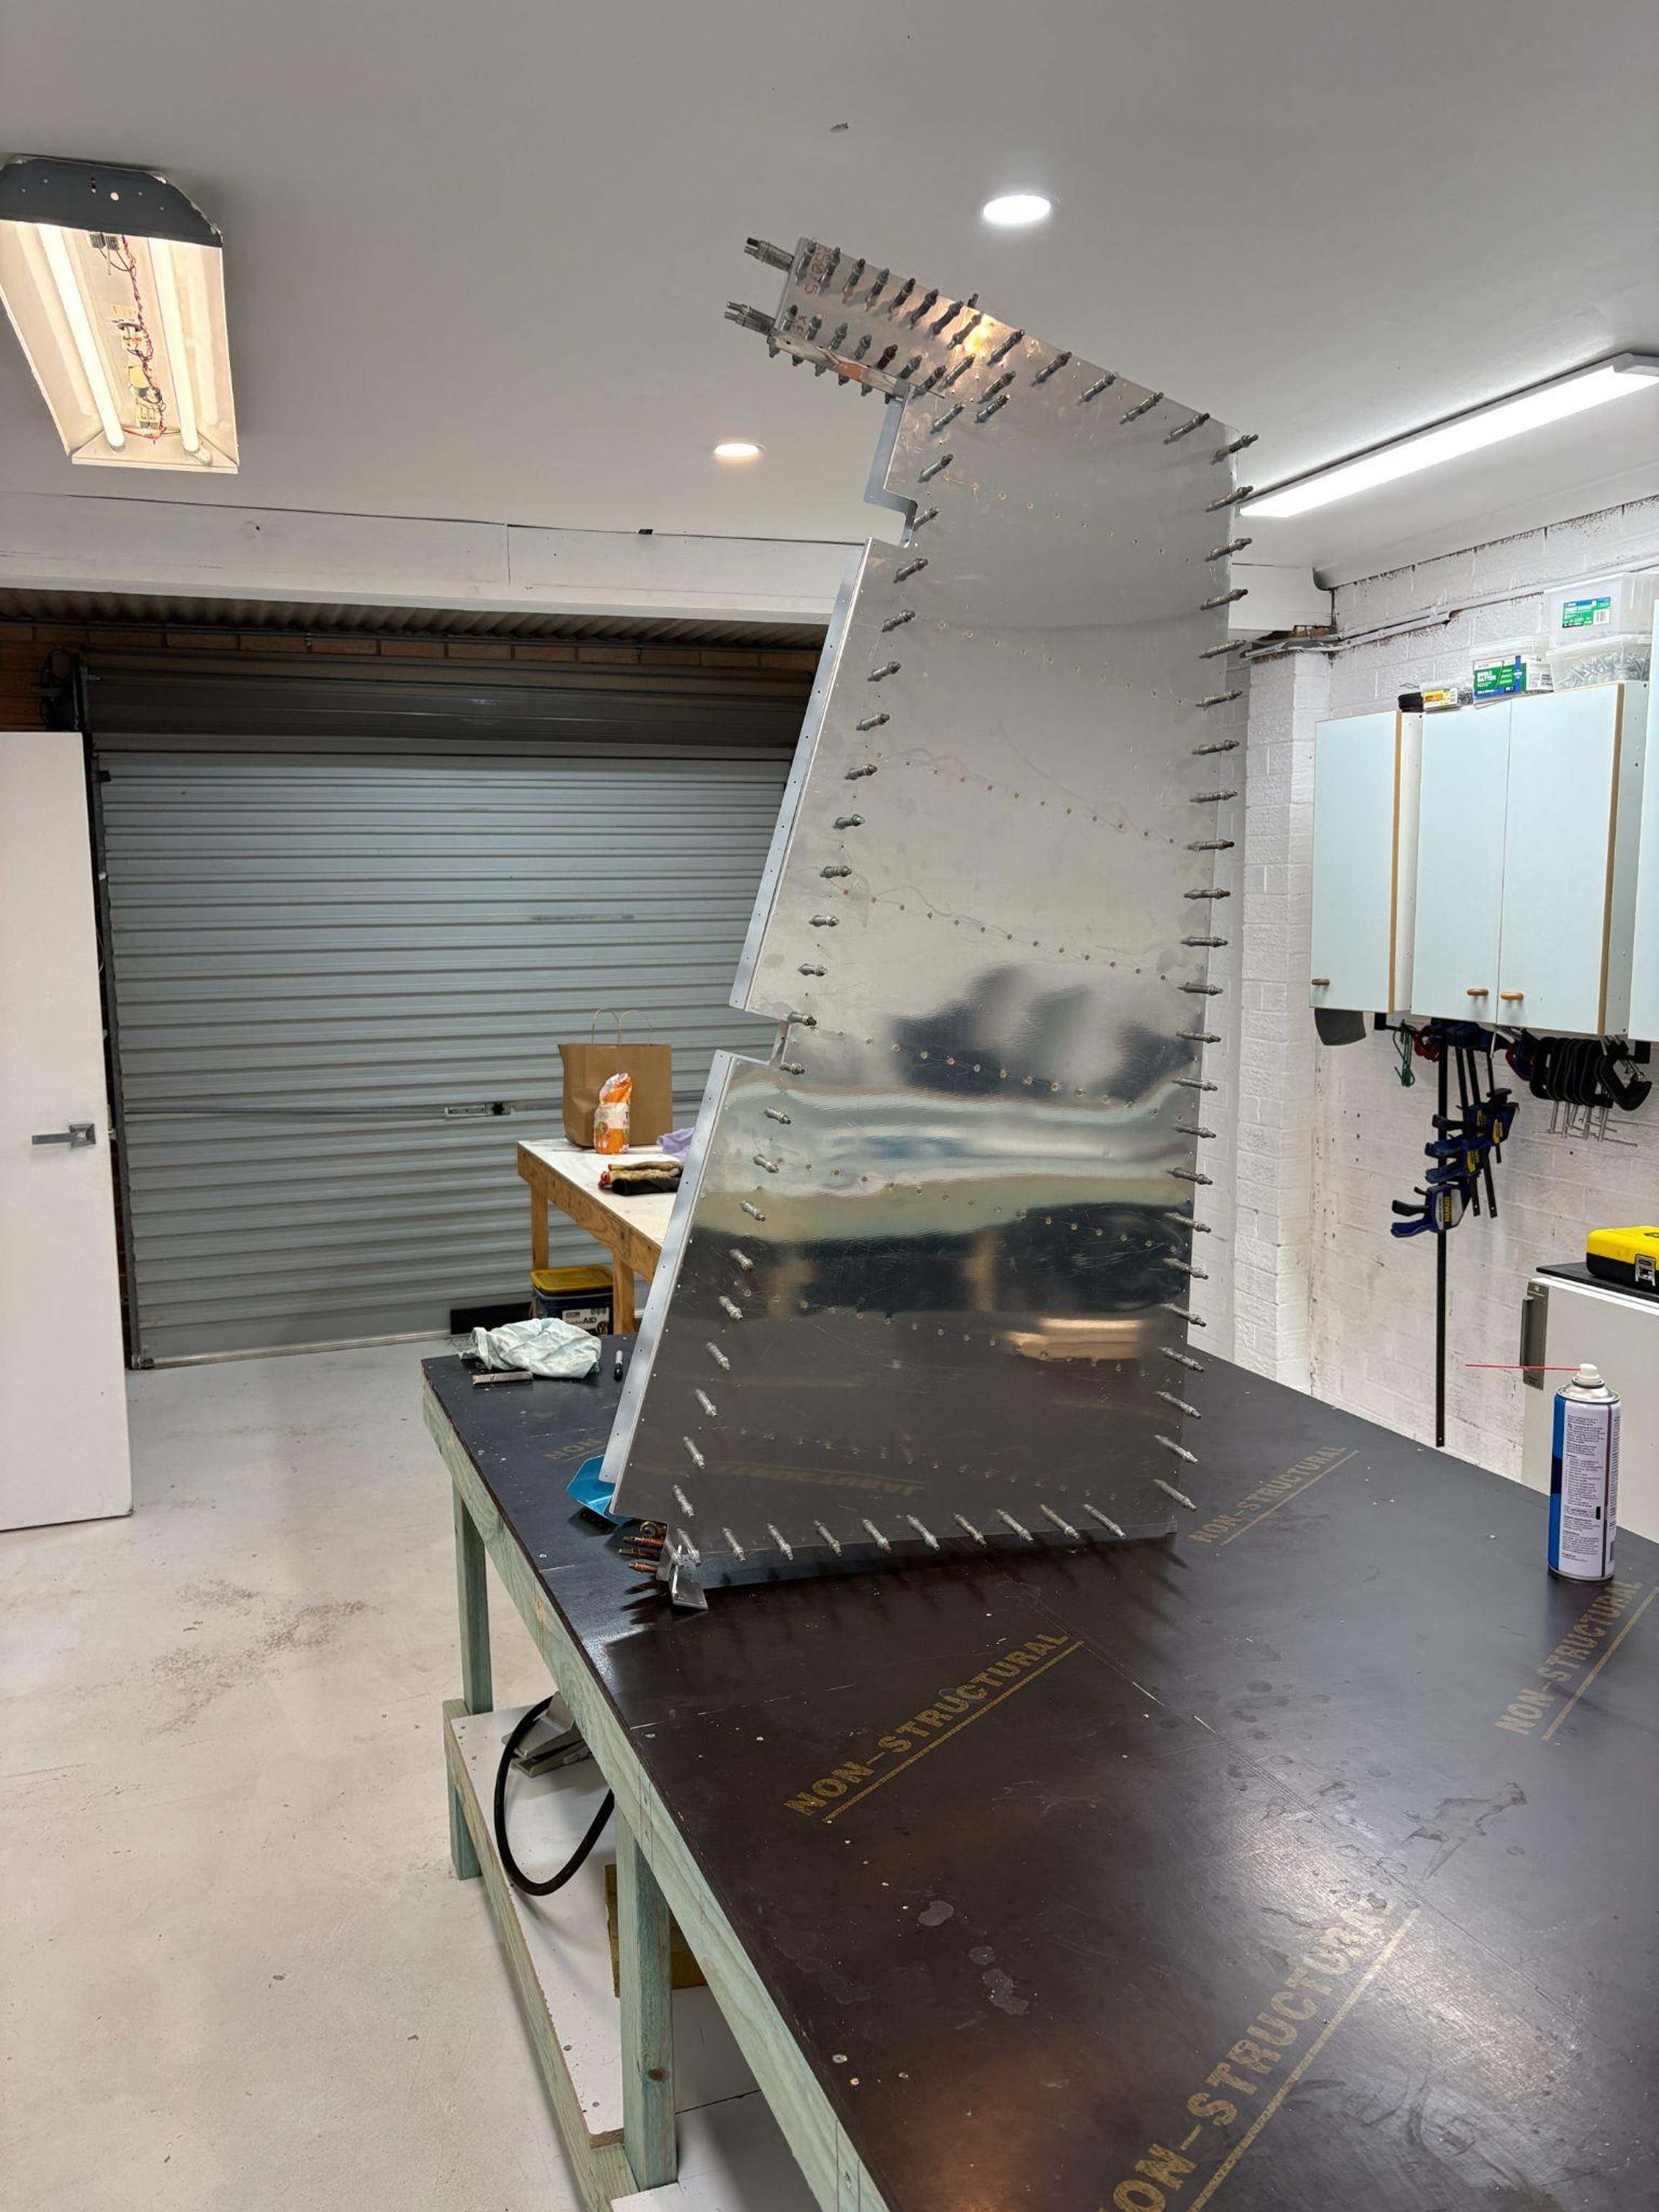
Fully clecoed and ready for drilling
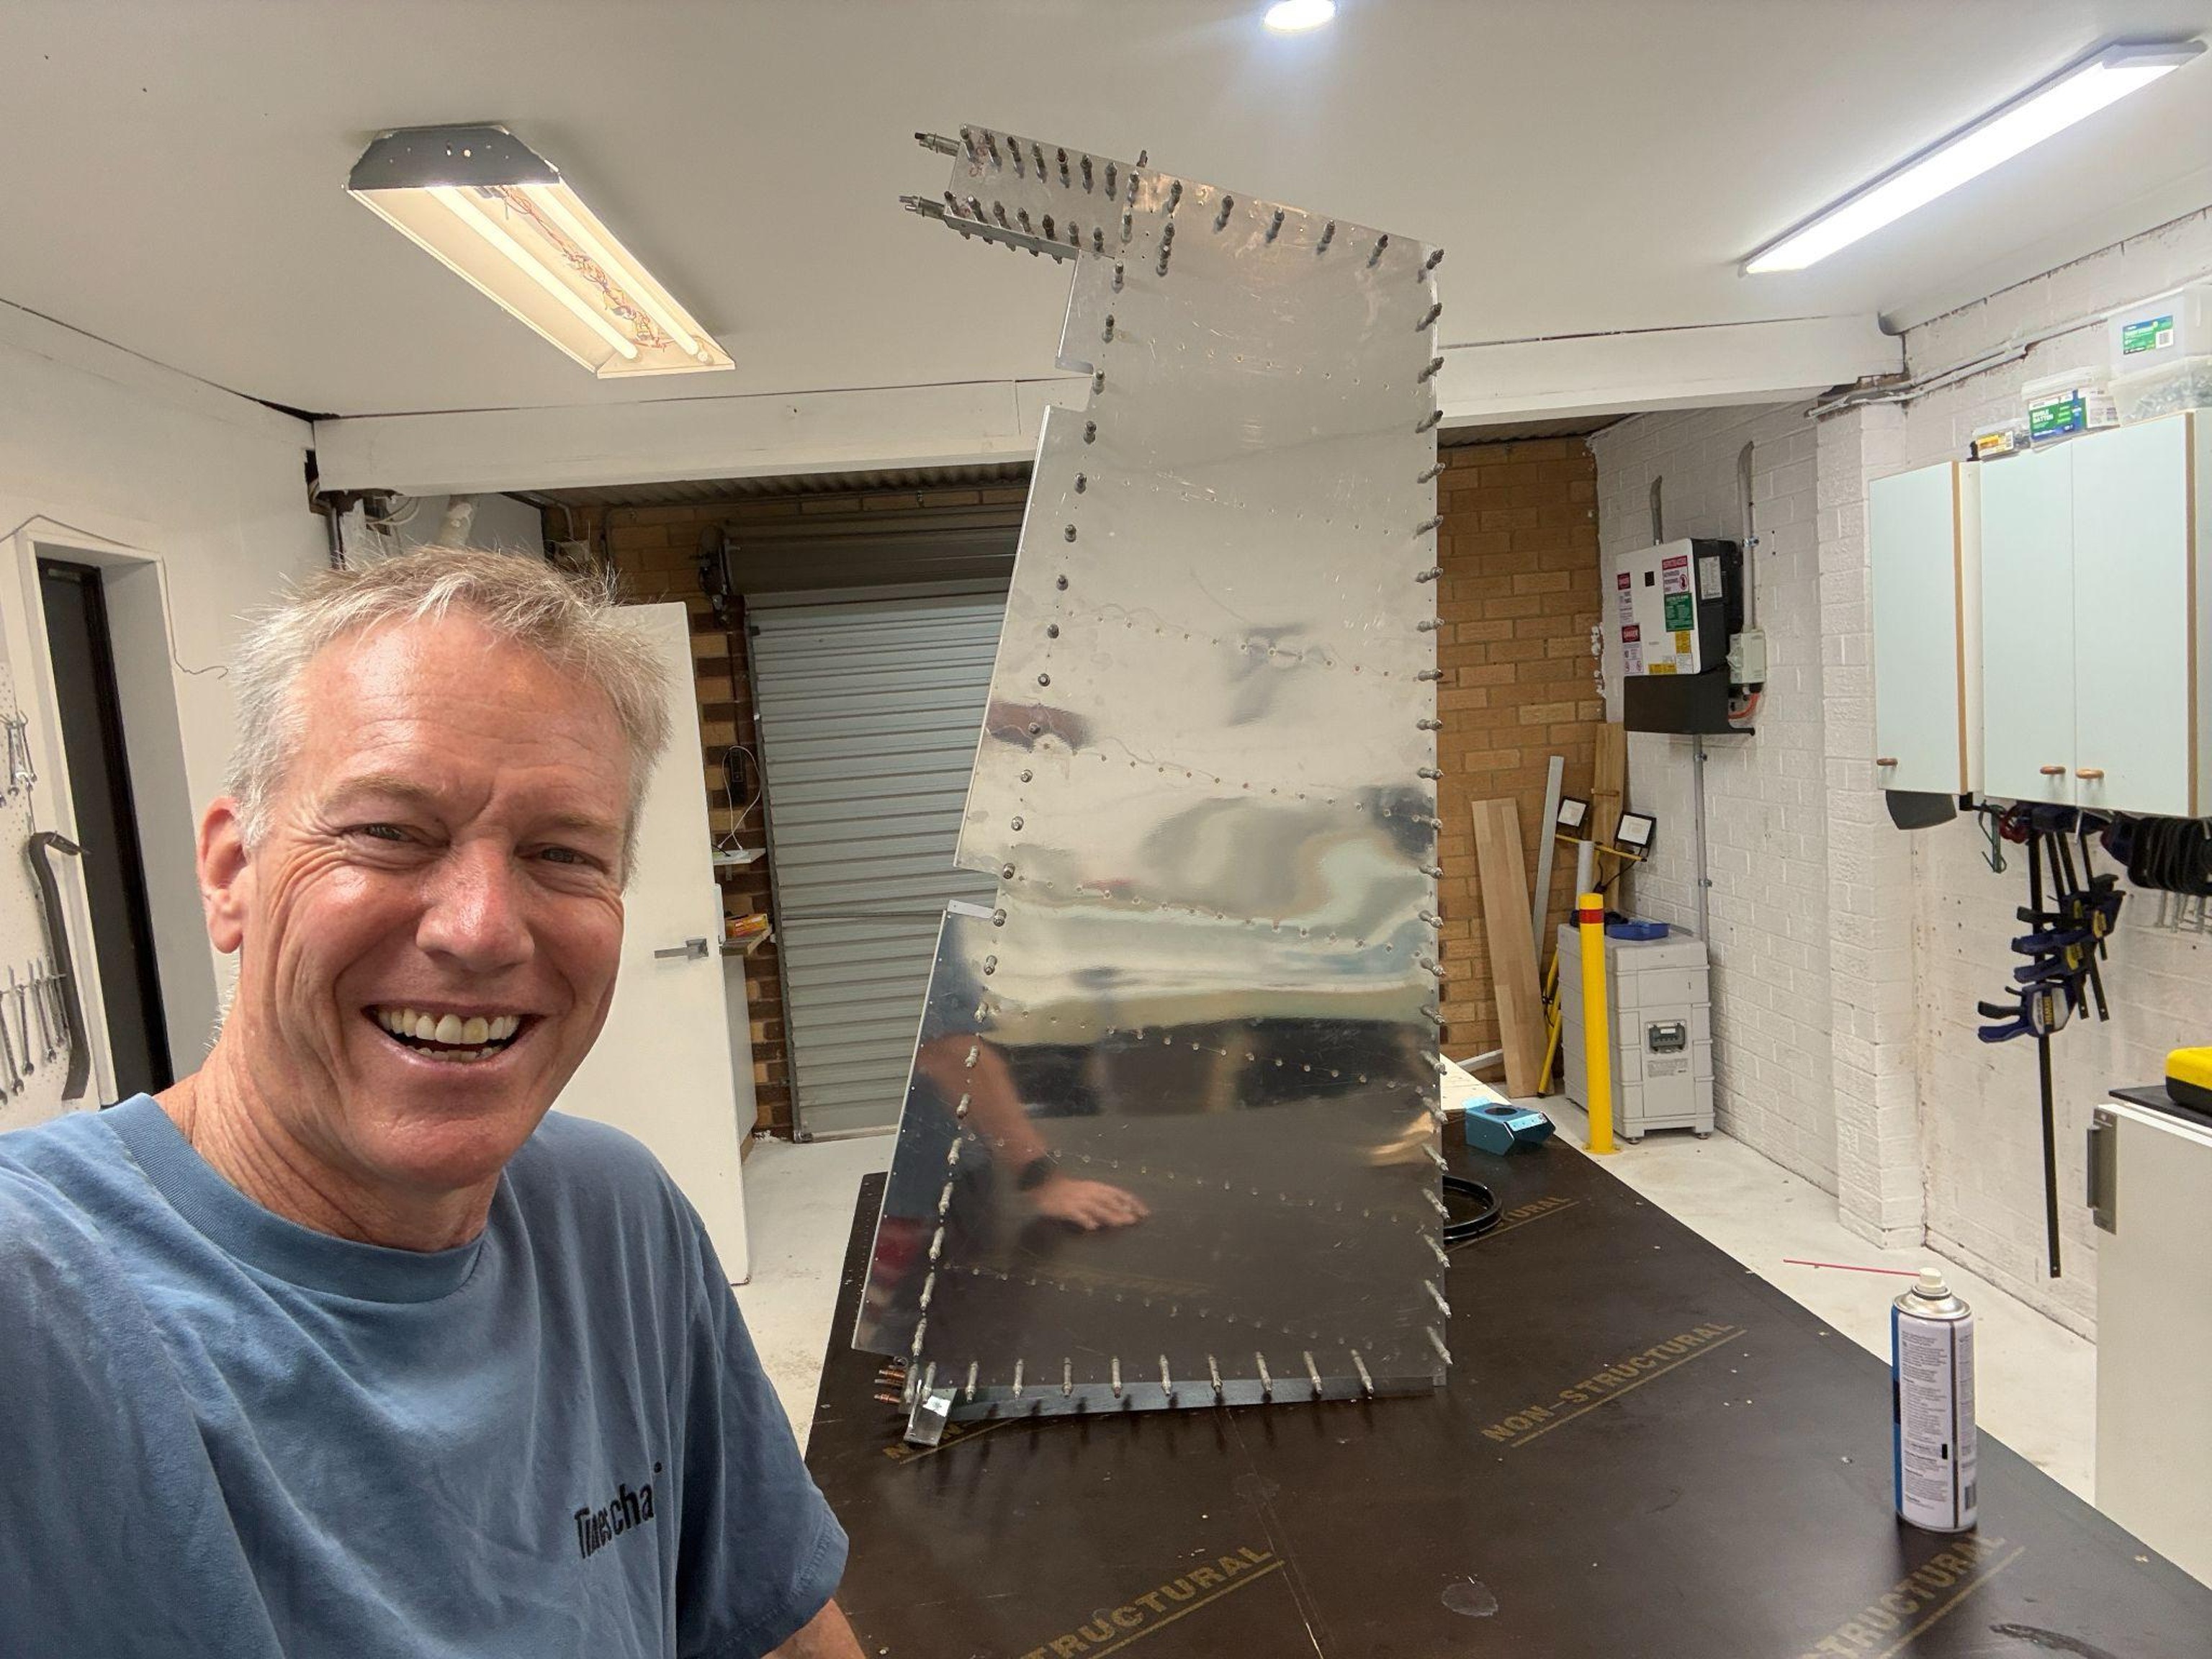
The obligatory stupid smile photo—this is what progress looks like
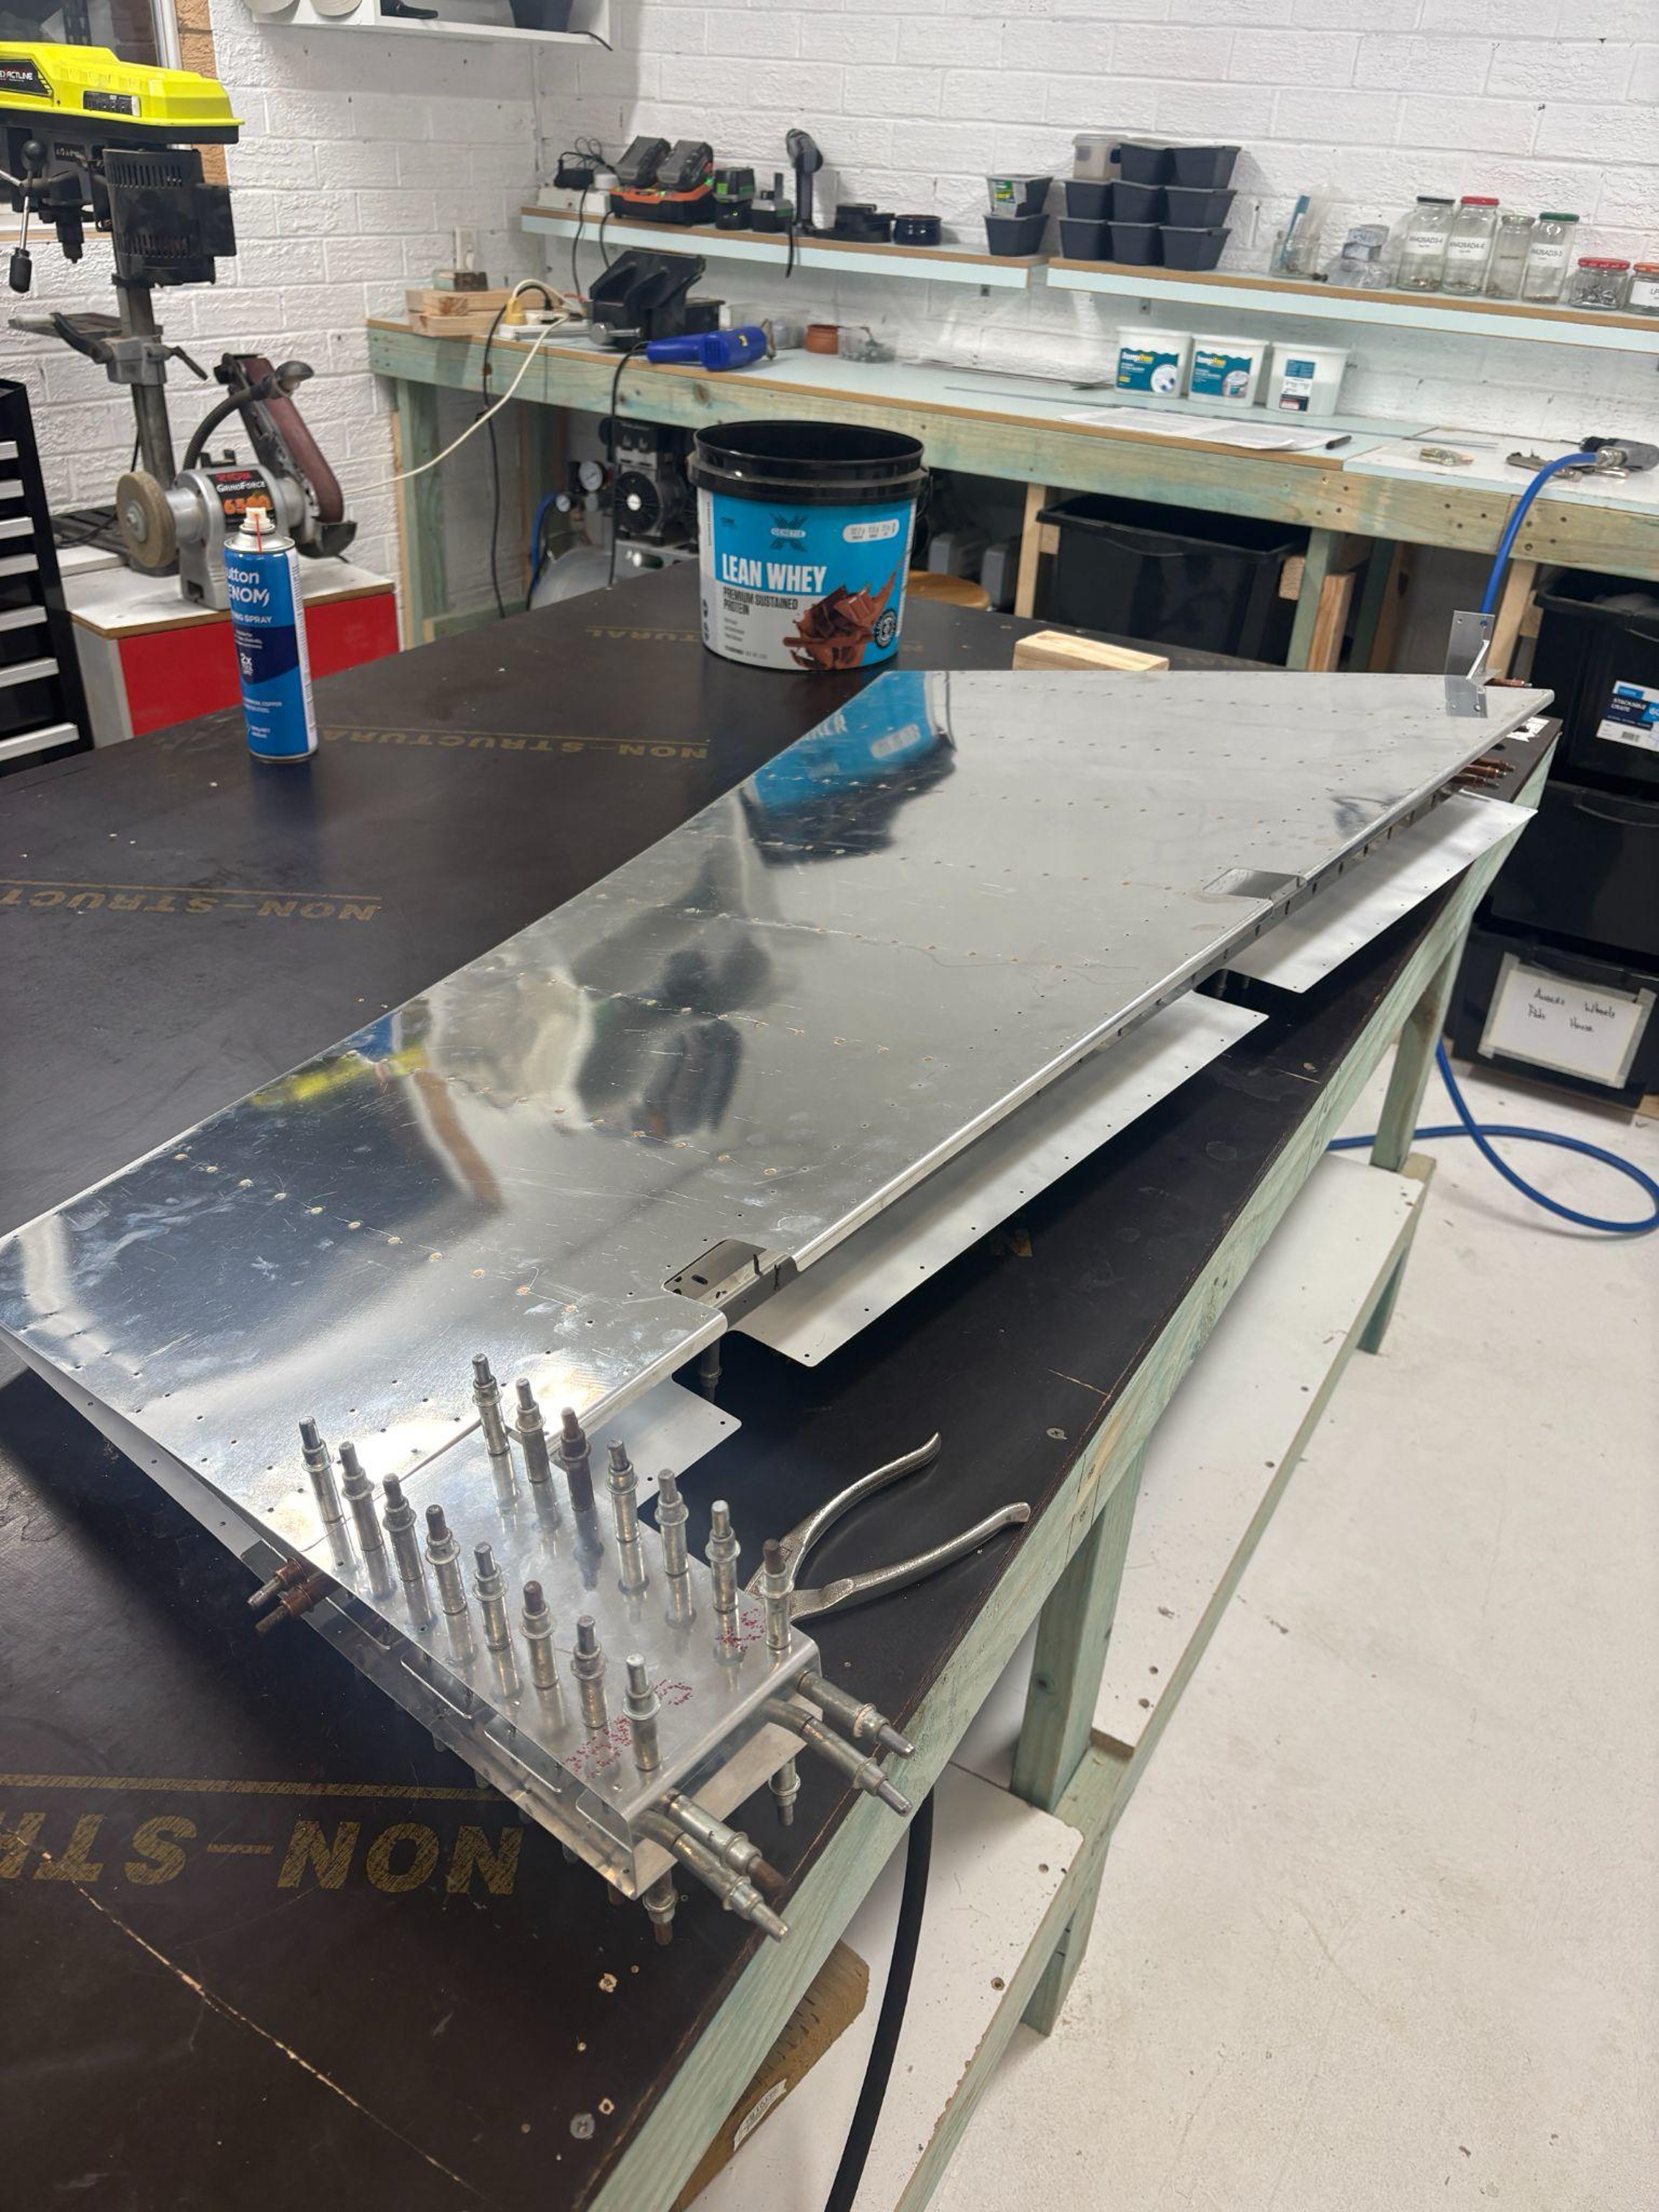
The R-710 Trim and Fit
And here's the final fit on the R-710. This cut was deceiving and I'd recommend reading as much about it as possible before starting to remove material.
Critical warning: The gist of the danger is this—if the cut line is too far in, you'll not have enough space for the rivets which need to come through from the skins. You can't add material back once it's removed. Measure twice (or three times), cut once, and consult builder forums before touching the saw.
This is one of those moments where spending an extra hour researching online build logs pays massive dividends. Other builders have already made this mistake. Learn from their pain instead of creating your own.
R-918 Bottom Attach Strips
Next step was to fabricate the R-918 bottom attach strips. Nothing unusual here—just follow the instructions carefully. Of interest was my need to go out and purchase an imperial ruler. Working in Australia with American aircraft plans means constantly converting between metric and imperial measurements. Eventually you just buy the right tools instead of doing mental math every five minutes.
The R-918 strips are straightforward if you follow the sequence. Measure, mark, cut, deburr, fit. The kind of work that builds confidence because there's a clear right answer and you can verify correctness at each step.
Time logged: ~4 hours