Saturday, October 26, 2025
Spent half an hour cleaning the shop. Then it's time to disassemble the rudder in prep of the dimple/deburr/etch/clean/prime cycle before final assembly. Need to do some research on the trailing edge as well—different builders use different techniques and I want to understand the trade-offs before committing to an approach.
The Dimpling Mistake
Pulled the dimpling rig out and did both skins before realizing that I should have deburred first.
<sigh>
On close inspection, no damage was done. Got lucky this time. But it's a reminder that sequence matters in aircraft construction. There's a reason the manual specifies the order of operations—skip steps or reorder them at your own risk.
Correct sequence: Deburr first (removes sharp edges and burrs from drilling), THEN dimple (forms the countersunk depression for flush rivets). Dimpling first risks damaging the dimple edges during deburring.
I got away with it this time. Won't make that mistake again.
R-710 Work
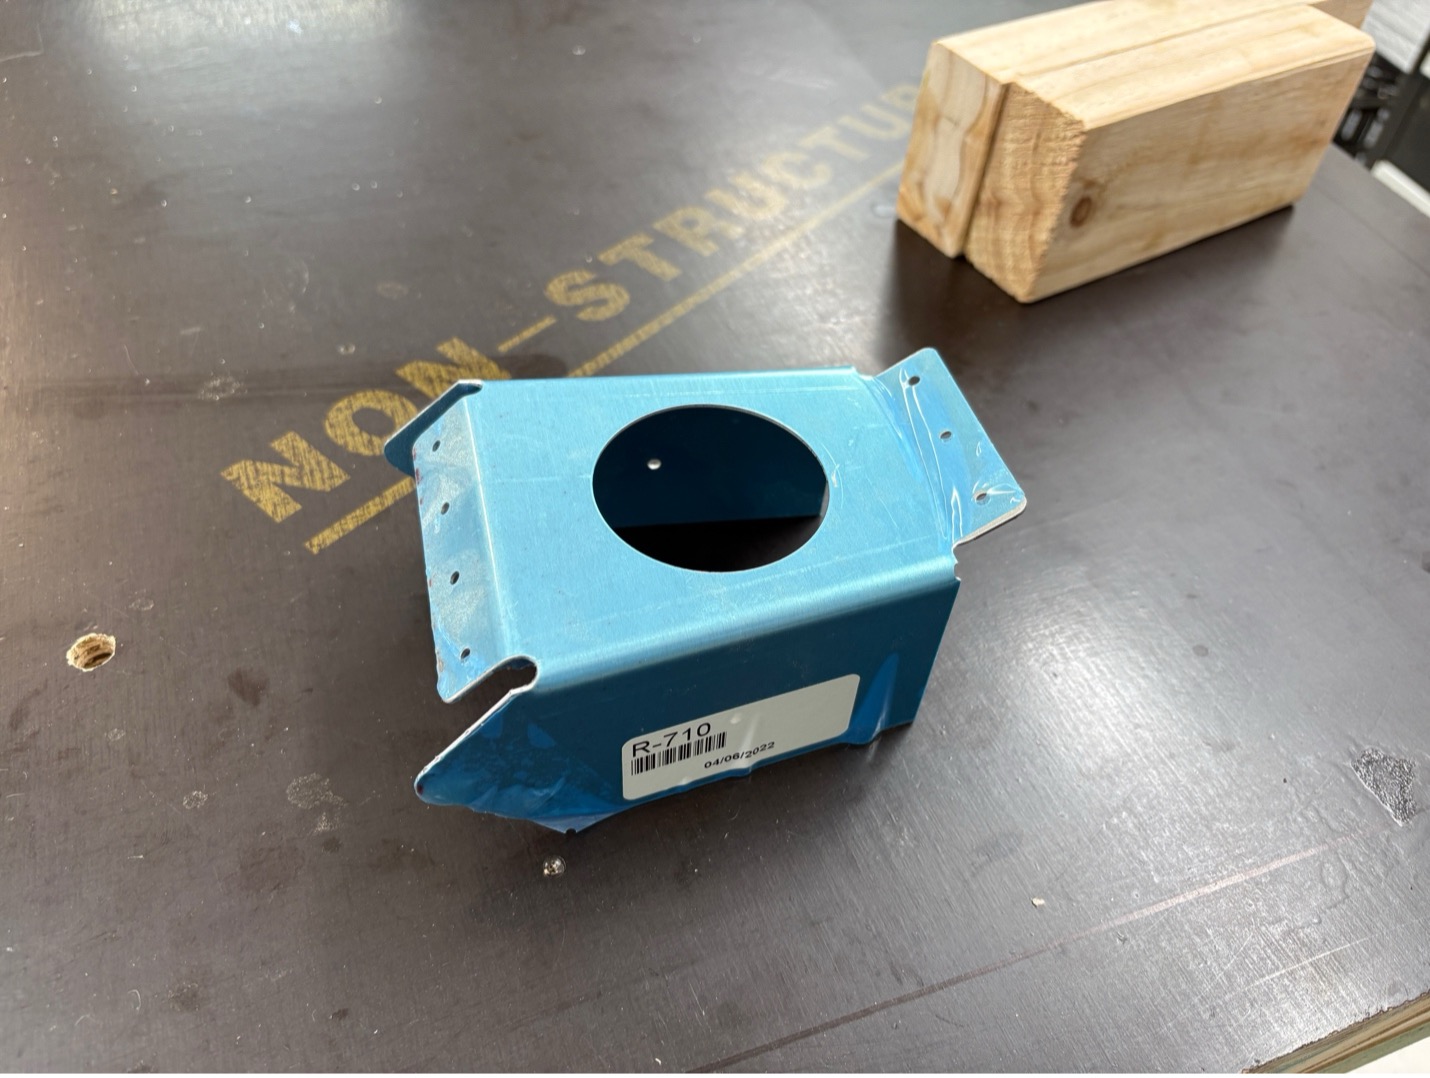
R-710 before final trimming and fit
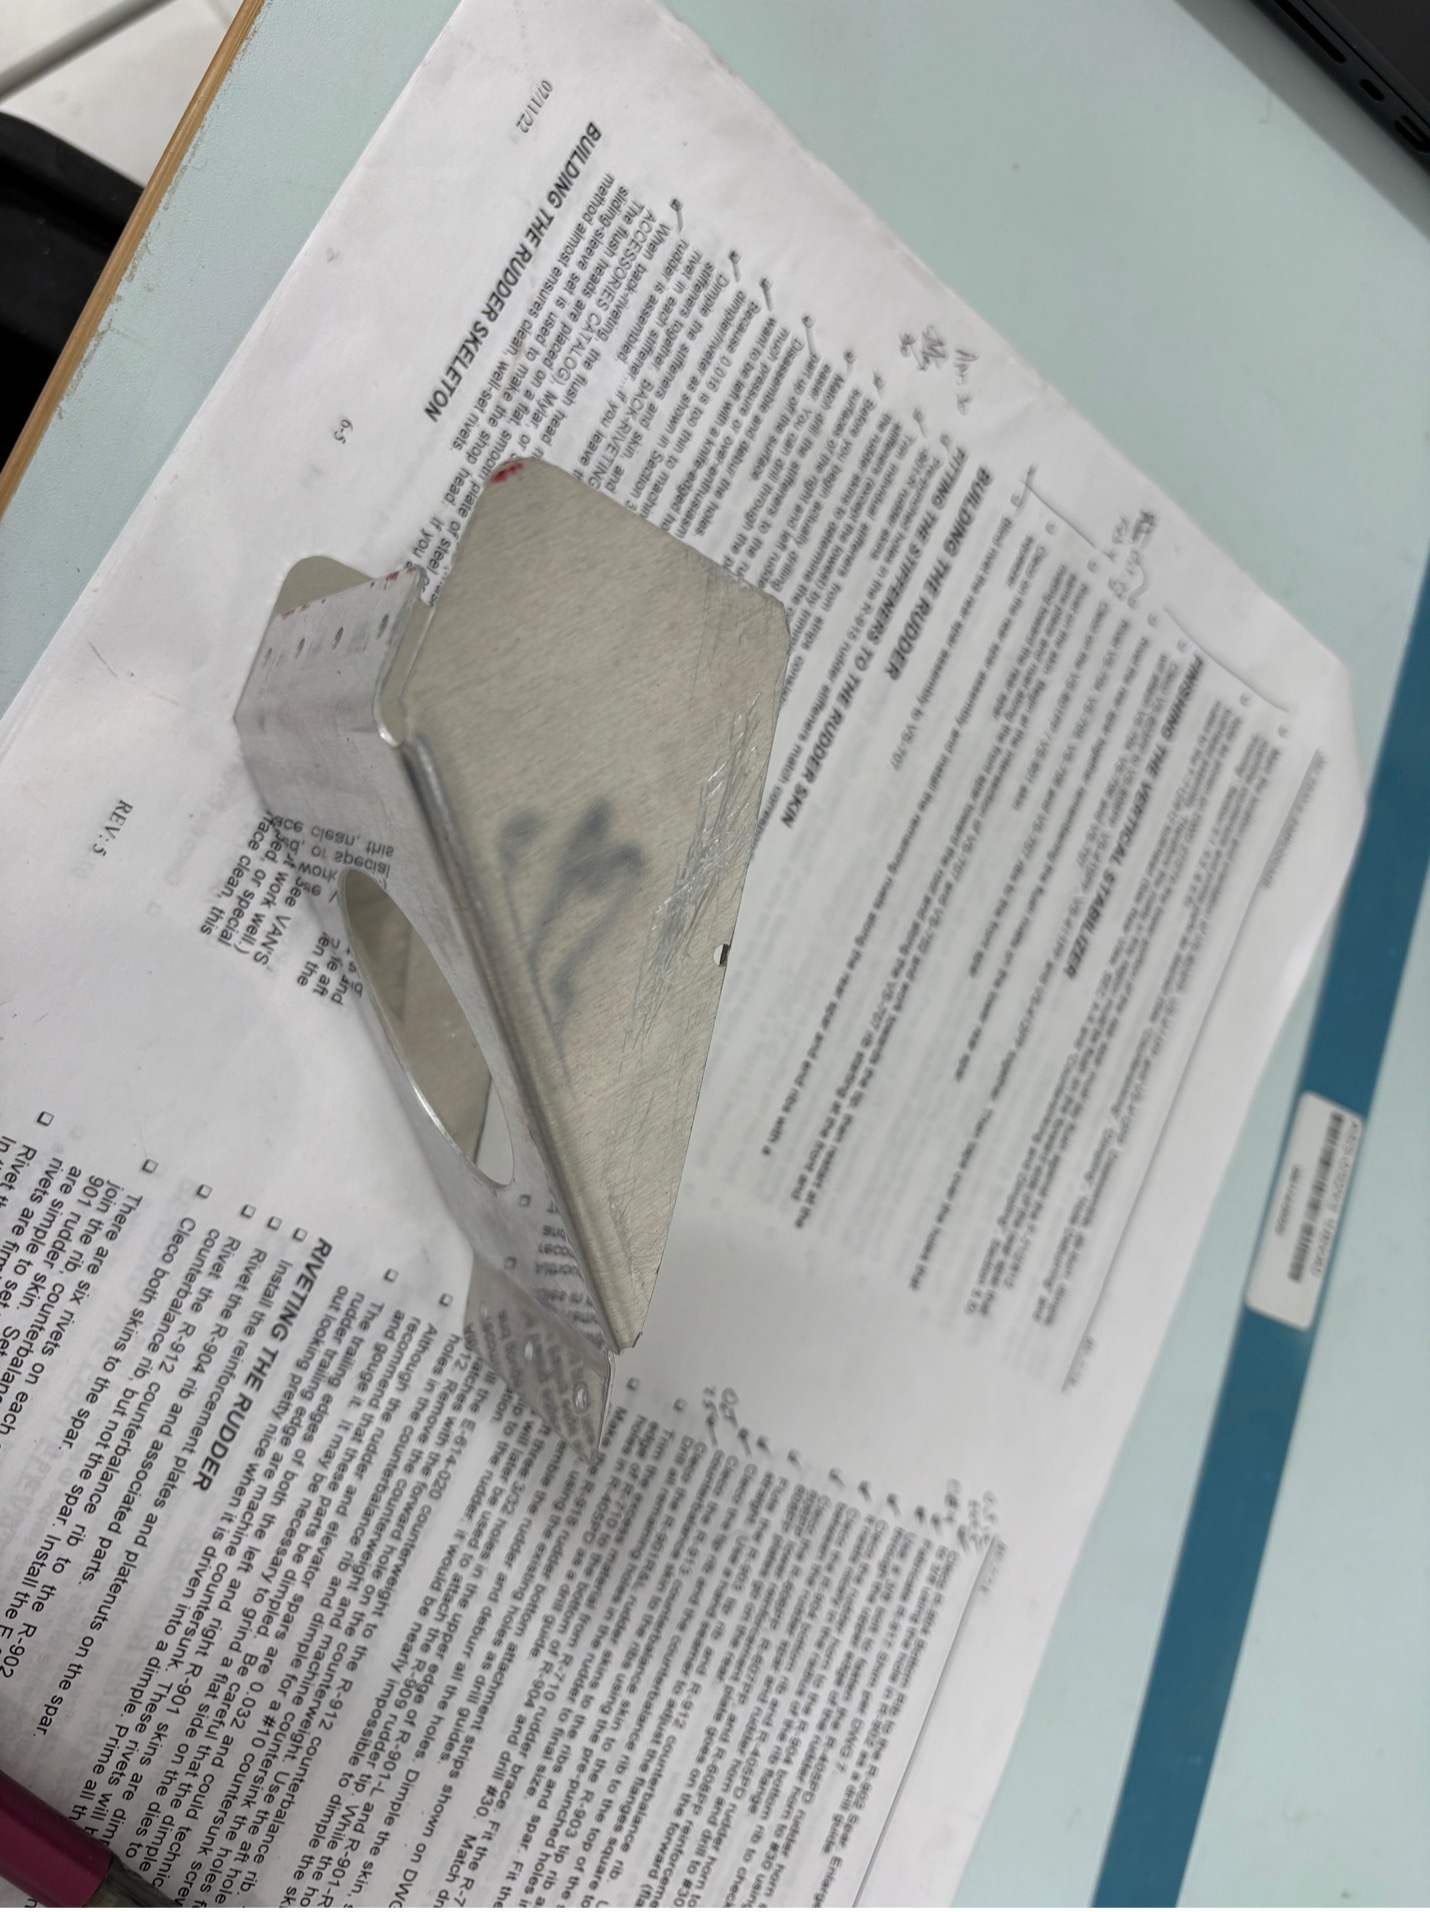
R-710 after trimming—fit verified before proceeding
Bottom Spacer Work
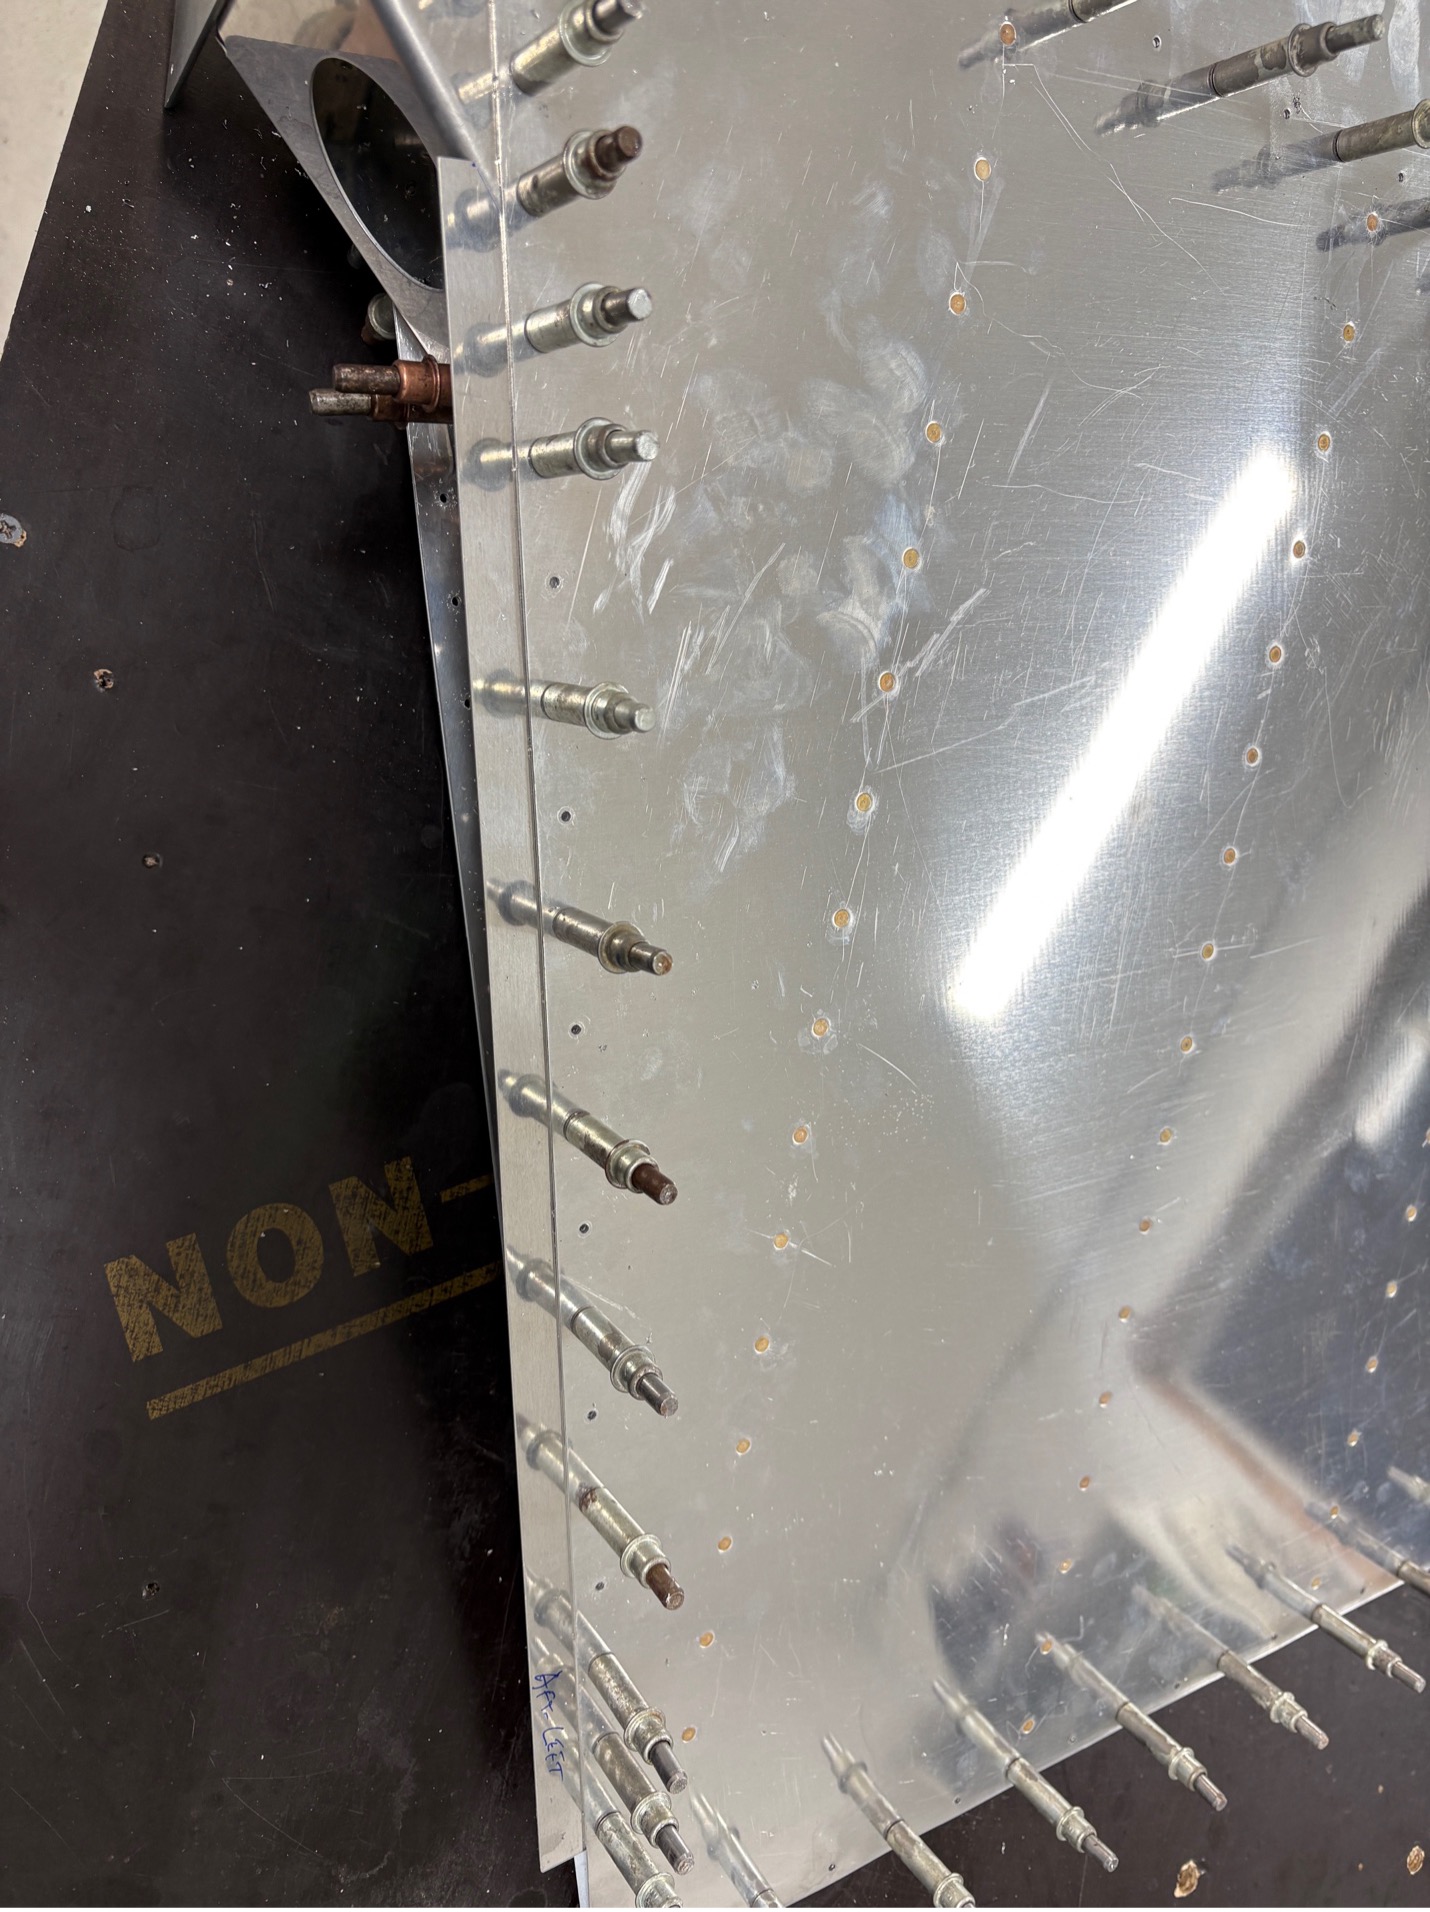
Rudder bottom spacer—measuring and fitting
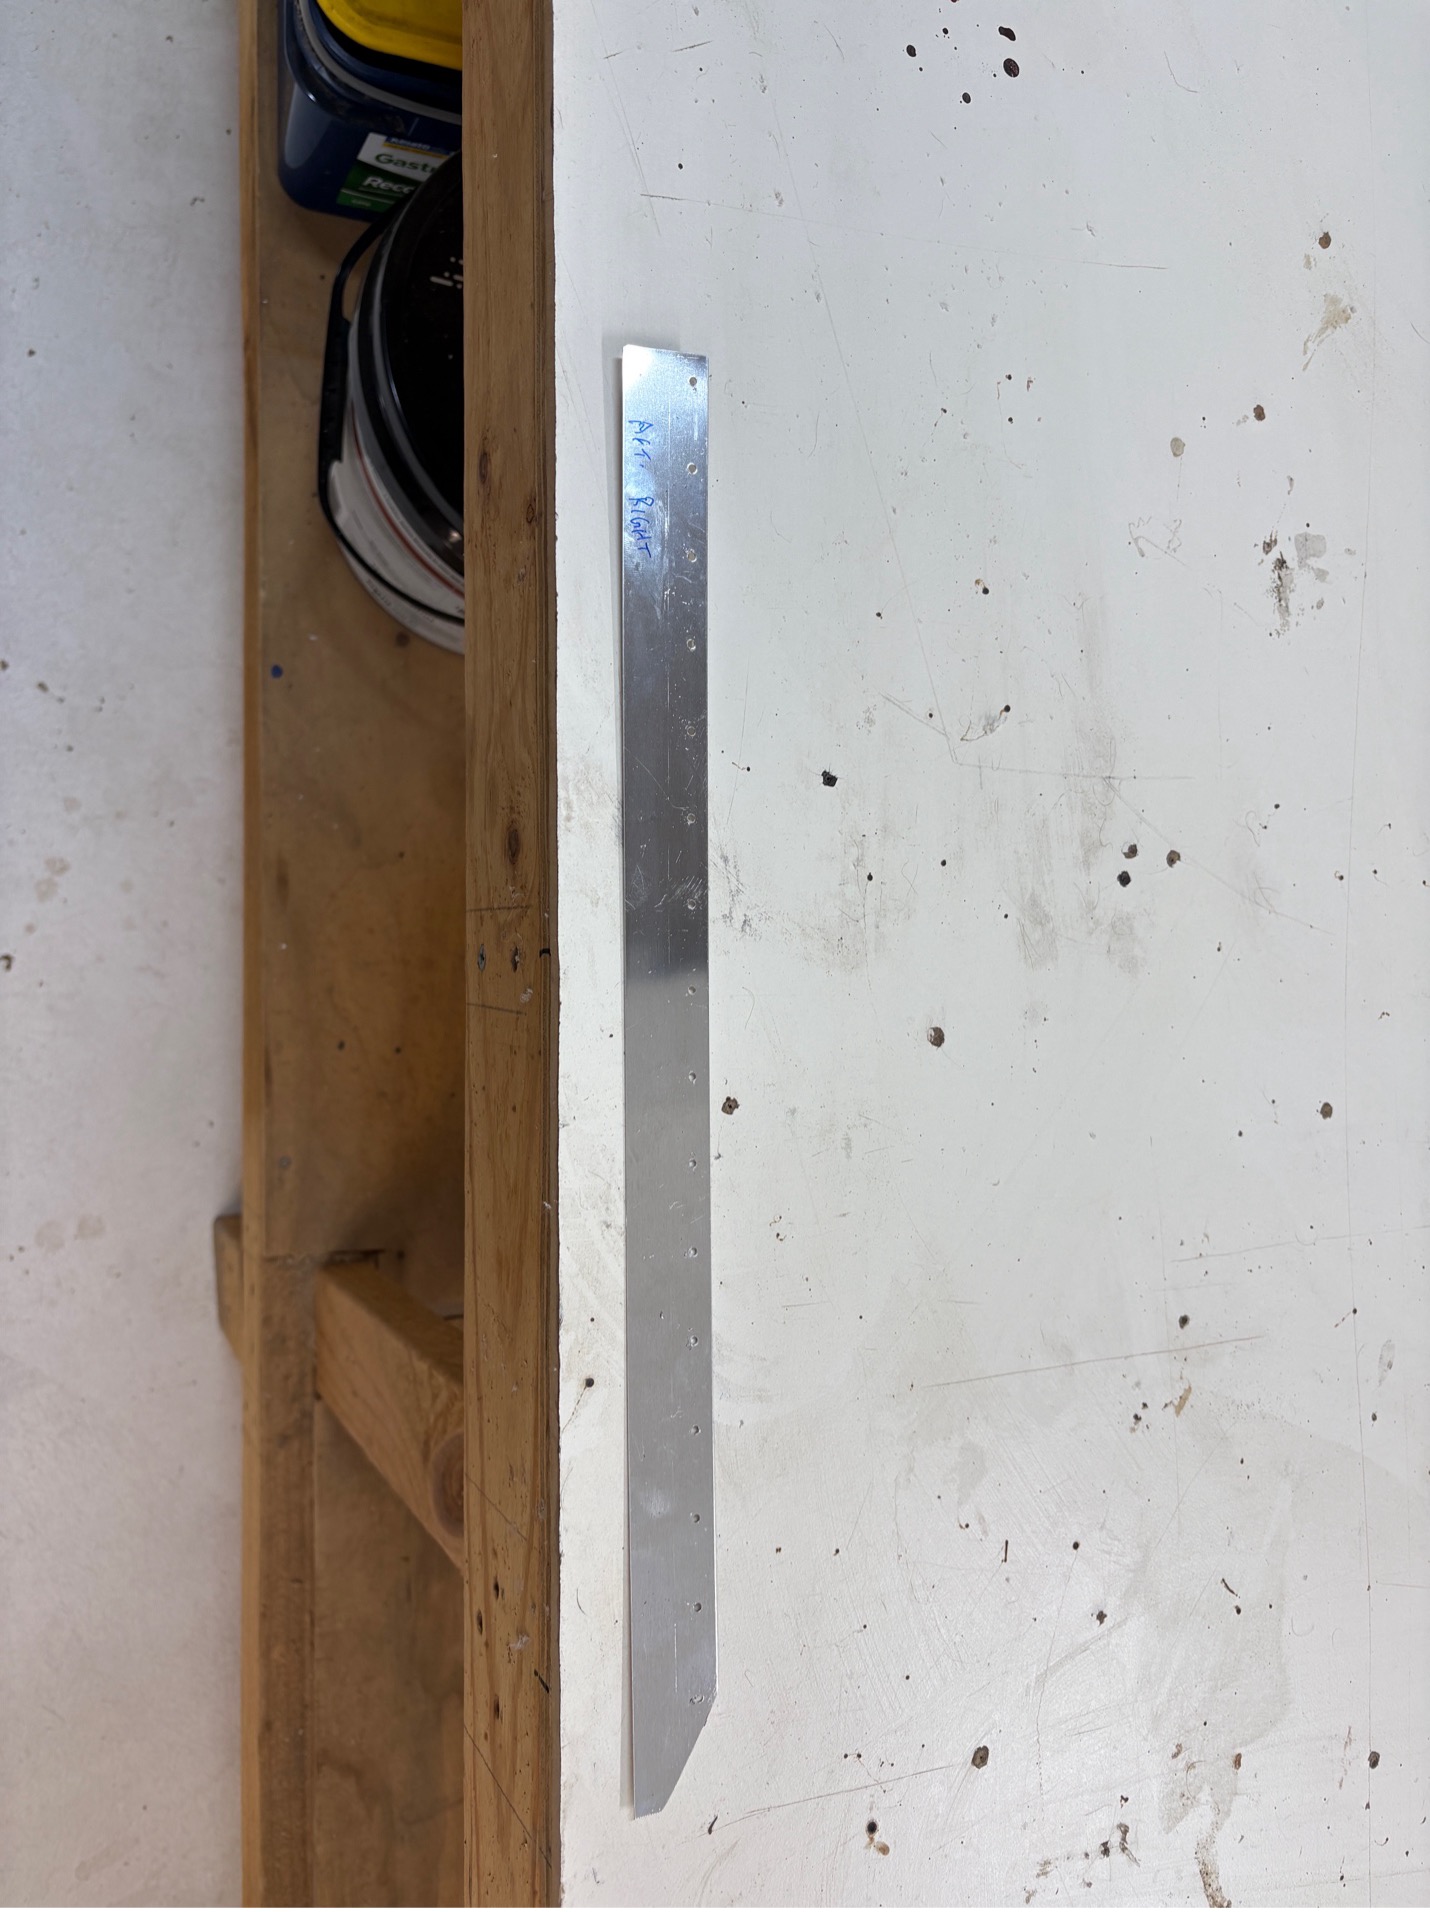
Bottom spacer installed and verified
Full Disassembly
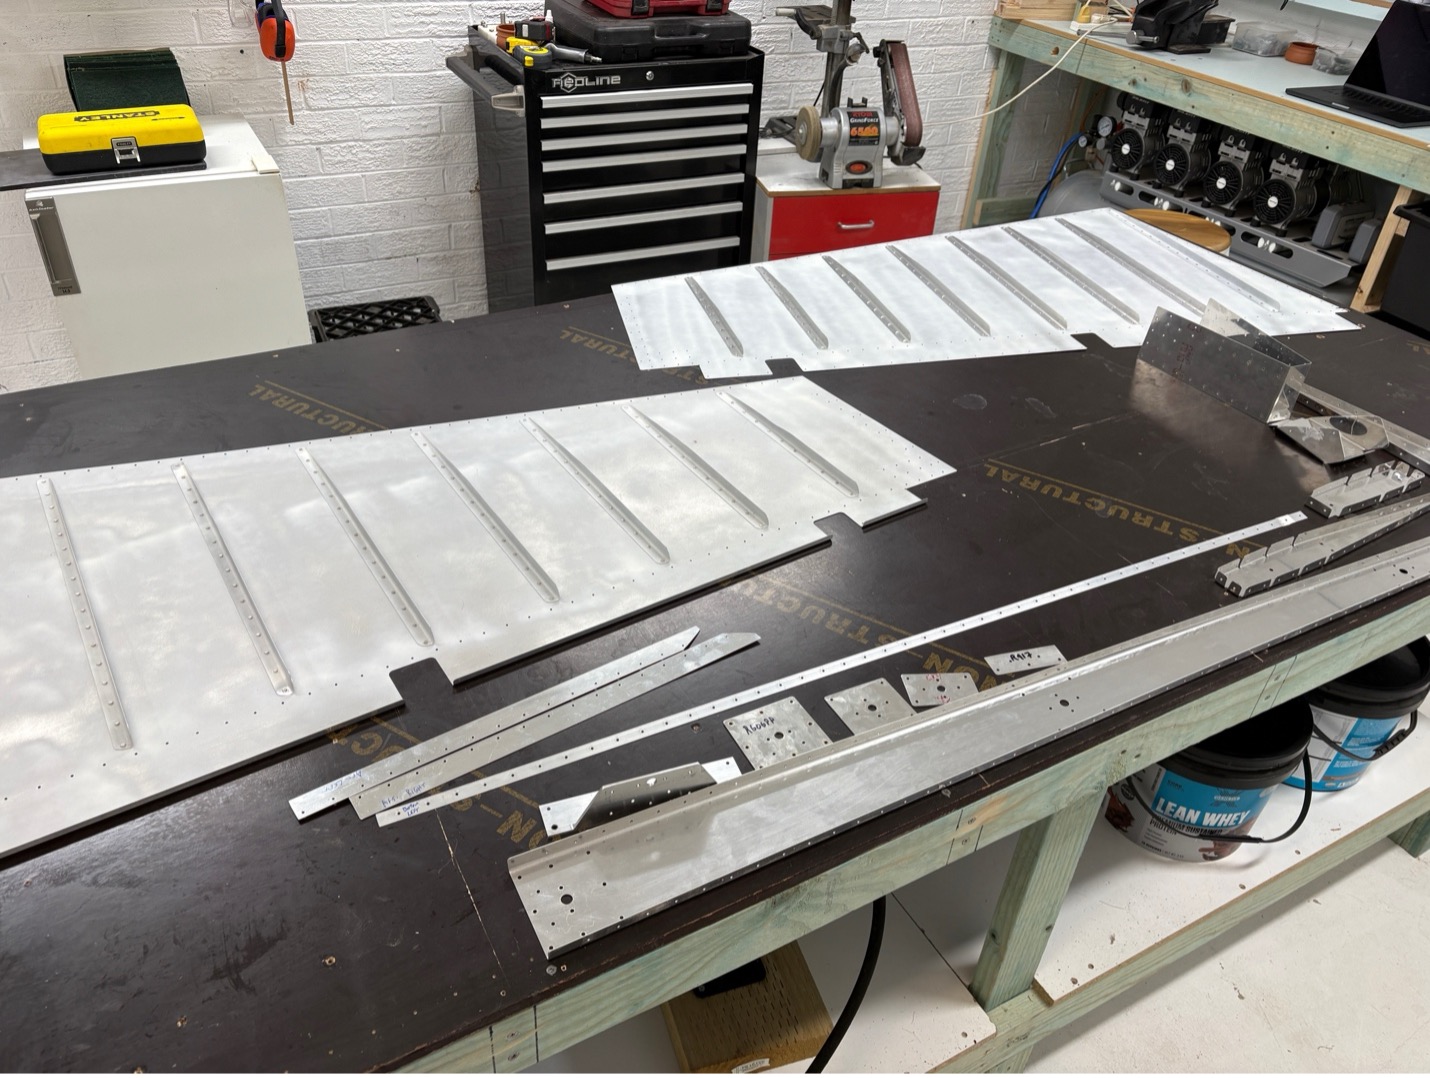
Fully disassembled—ready for deburring, etching, and priming
There's something satisfying about seeing all the parts laid out. This is the state right before surface prep—every part gets deburred, every edge smoothed, every surface cleaned and etched before primer goes on. It's tedious work, but it's the foundation for everything that follows.
Loads of swarf and sharp edges to deal with. Skins first, then internal components. The whole disassembly process reinforces how everything fits together—when you reassemble for final riveting, the sequence will be familiar.
Next Steps
With everything disassembled, the next phase is surface preparation:
- Complete deburring of all parts (skins, ribs, stiffeners, spacers)
- Clean with Stewart Systems EkoClean to remove oils and contaminants
- Etch with EkoEtch for primer adhesion
- Apply EkoPrime using the 3M Accuspray system
- Research and plan trailing edge riveting technique
- Final assembly once primer is cured
Time logged: ~2 hours